Face shape makeup works best as a set of small visual choices, not as a mission to redraw the face. A stripe of contour copied from a short video can look muddy in daylight because cheekbone height, skin texture, lighting, and product formula are different for everyone. Start with a light hand, decide what you want to emphasize or soften that day, and check the result in the light where other people will see you.
Use makeup as optional placement, not a correction project
Every face has asymmetry, fullness, shadows, and angles that change when it smiles. Contour deepens an existing shadow; highlight brings an area forward; blush adds colour and changes the apparent direction of the cheek. None of these needs to follow a face-shape chart exactly. An oval face can enjoy a lifted blush placement. A round face can wear blush across the cheeks. A square jaw can be left crisp if that is the feature you like.
Begin with your usual base, then stand near a window without facing direct sun. Look for the natural hollow below the cheekbone and the shadow around the temples. If you cannot see a shadow, do not invent a dark one. A contour shade should be subtly cooler or more neutral than the skin, not orange bronzer. Bronzer can add warmth where sunlight would naturally fall, but it answers a different question from contour for face shape.
Find the cheekbone before placing a product under it
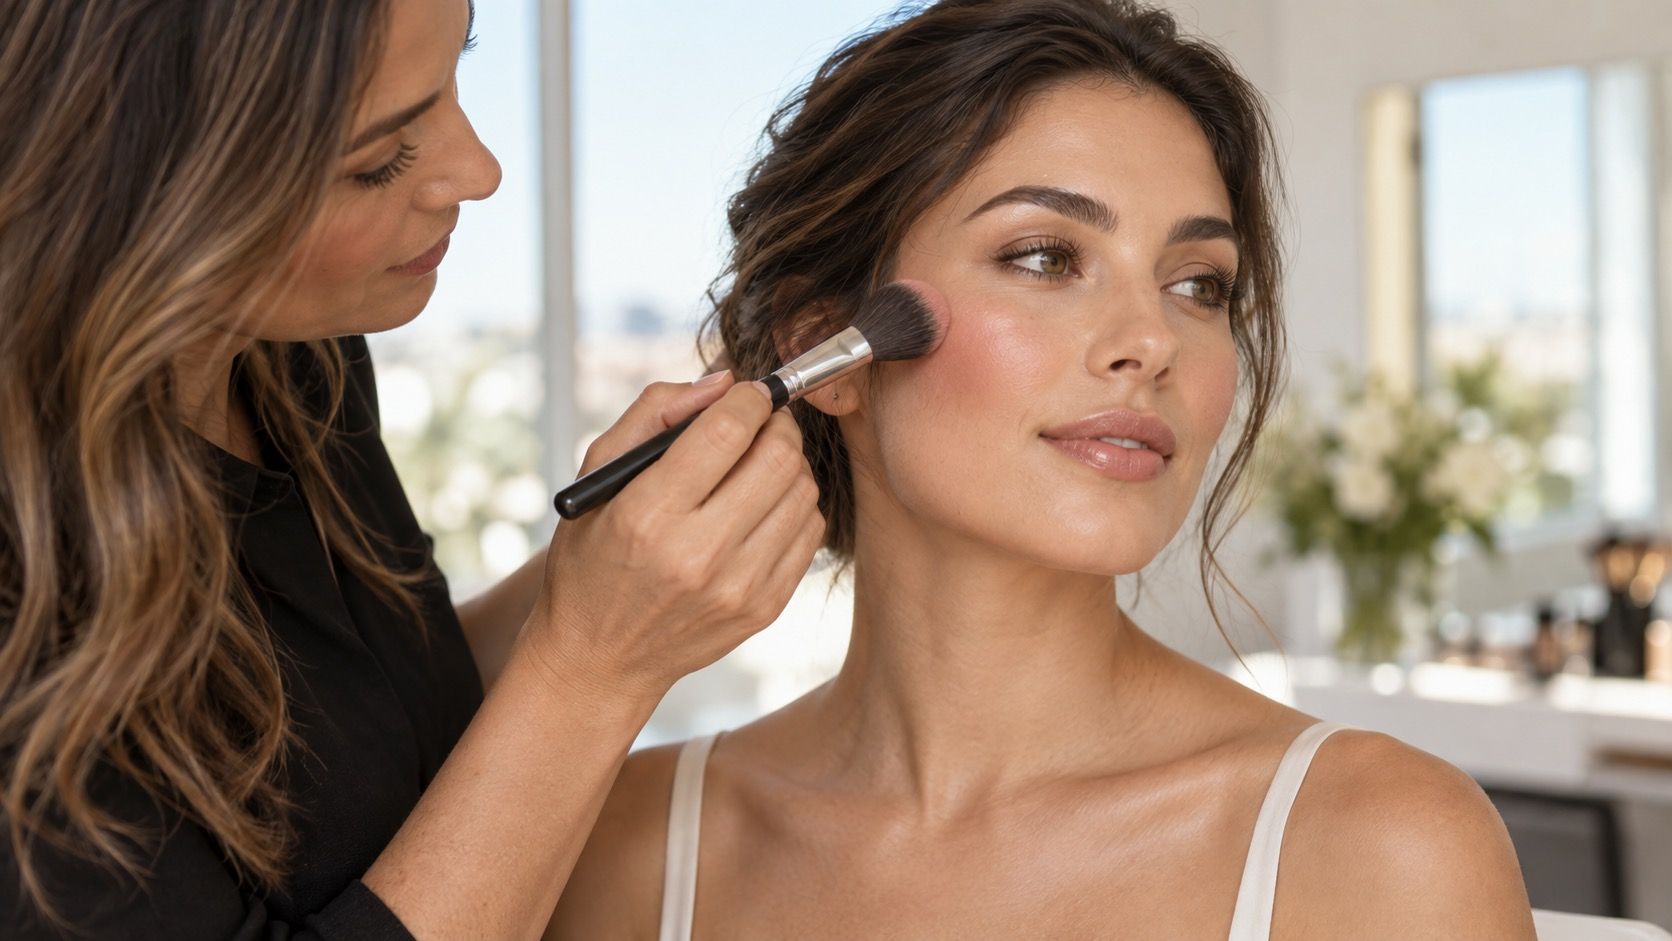
Feel from the top of the ear toward the corner of the mouth and notice where the cheekbone ends. The hollow is usually below that ridge, not halfway down the face. Start the contour near the ear and stop before the middle of the cheek rather than drawing it toward the lips. This leaves the face looking dimensional instead of striped. With a cream product, tap a small amount in with a dense brush or sponge; with powder, use a soft brush and build gradually.
The direction changes the feeling. Sweeping slightly upward toward the temple can create a lifted effect. Keeping colour more horizontal can preserve width and softness. If the jaw looks strong and you want it gentler, blend a faint shadow under the jaw rather than tracing a dark line along it. Hairline contour is optional: a high forehead does not need shrinking, and a heavy dark band can look obvious when hair moves in the wind.
| Visual goal | Placement to test | Common mistake |
|---|---|---|
| More lift through the cheeks | Blush high and slightly outward from the apple | Pulling all colour to the temples until the face looks flat |
| Soft definition | Short contour below the cheekbone, blended toward the ear | Extending the line to the mouth |
| More warmth | Light bronzer on upper cheeks and temples | Using orange bronzer as a deep contour |
| Focused glow | Highlight on high cheekbone, not the textured centre | Putting shimmer on every raised area |
Adapt contour ideas to the shape you see today
A rounder face may suit a little dimension beneath the cheekbone and at the outer temples, but there is no requirement to make it look narrower. A square or rectangular face can look softer with diffused temple and jaw shading, leaving the centre clean. On a longer face, placing all contour vertically and lifting every feature can make the outline feel longer; a touch of warmth across the upper face or a more horizontal blush can be a useful alternative. Heart-shaped faces often need little contour at all, though a gentle cheek placement can balance the visual weight of the forehead.
Product texture affects this more than most diagrams admit. Cream products melt naturally into a fresh base and are forgiving when used sparingly. Powder can last longer on oilier skin but needs a well-set base or it may catch on dry patches. Do the first attempt before mascara and lips, so a too-strong placement can be softened with leftover foundation on a sponge. This is faster and kinder to the skin than repeatedly layering more powder.
Place blush for colour, proportion, and your desired mood
Blush placement face shape advice should begin with the colour you enjoy. For a classic centred flush, apply around the apples while looking straight ahead, then blend the edges. For a lifted effect, begin slightly above the apple and travel toward the upper ear. For a softer, wider look on a long face, keep the blend less vertical. A small amount across the bridge of the nose can look sun-kissed, but it is optional and may compete with redness in that area.
Try placement with one cheek at a time before matching the other. This makes it easier to see whether high placement suits your eye shape and whether the colour appears before it fades into the base. Deeper skin tones often show best with a more saturated blush; pale skin may need less pigment but not necessarily a lighter formula. The correct amount is the one that remains visible after you add concealer, powder, and a normal distance from the mirror.
Highlight only where texture and light can handle it
Highlight is most convincing on a small high point: the top of the cheekbone, a restrained touch on the brow bone, or the centre of the cupid's bow. A shiny stripe down the whole nose changes the nose more dramatically than most people expect and can emphasize texture. If you want brightness without sparkle, choose a satin concealer or a luminous primer instead. In photographs, intense shimmer may look excellent; at a desk by a window, it can announce itself first.
Check the makeup in three places: a close mirror for blending, a step back for overall proportion, and natural light for colour. Turn the head slightly rather than judging only face-on. A contour that disappears when you move is often ideal. One that stays as a brown border may need less product, not a different face shape.
Keep a repeatable routine for ordinary mornings
Take a quick photo after each test and note the placement, not just whether you liked it. “Blush one finger above the nostril level” is more useful than a saved filter. On rushed days, choose one step: blush for life, bronzer for warmth, or a small cheek contour for definition. Full face-shape makeup is optional, and a simple routine usually looks more convincing than five products competing for attention.
The aim is not to disguise proportions. It is to decide where colour and light feel good on your own face, then repeat the parts that still look like you in daylight.